 Back
Back| 5.3.1 5.3a ReadyGo Course Upload |
| Step | Instruction | What it looks like |
|---|---|---|
| 1 | When you generate your completed course, choose to create a zip archive. |
 |
| 2 | Click the "browse" button to find the zipped version of the course located on your computer. |
 |
| 3 | Your course administrator has designated a directory for your course to reside in (for this example it is test). You will need to designate a folder for your course to reside in. Each course will need it's own unique folder.
If the course administrator called the directory test and your course folder is called sample, the URL for your course will be http://www.website.com/test/sample |
 |
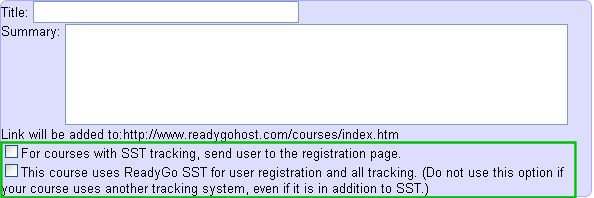
| 4 | Optionally you can create/add a course to an index (web page of courses). All the courses in the same directory (for example "test") will be listed on the web page.
Click "upload file", a new screen appears. Provide the title and summary to be displayed on the index web page |
 |
| 5 | For courses that use SST. Click the checkbox, all SST files will be installed in the correct place. |
 |
| 6 | All the courses in the same directory can be displayed on a web page (index). This table lists those courses. You can change the order of the courses listed on the web page by changing the ranking number found on the right side of the table. You can also delete a course from this talbe. |
 |


