 Back
Back| 7.3.1 7.3a Setting Up Server-Side Testing |
| Step | Instruction | What it looks like |
|---|---|---|
| 1 | Choose Testing & Tracking > Course-wide Setup or when adding or editing a test page, click Course-wide Setup. |
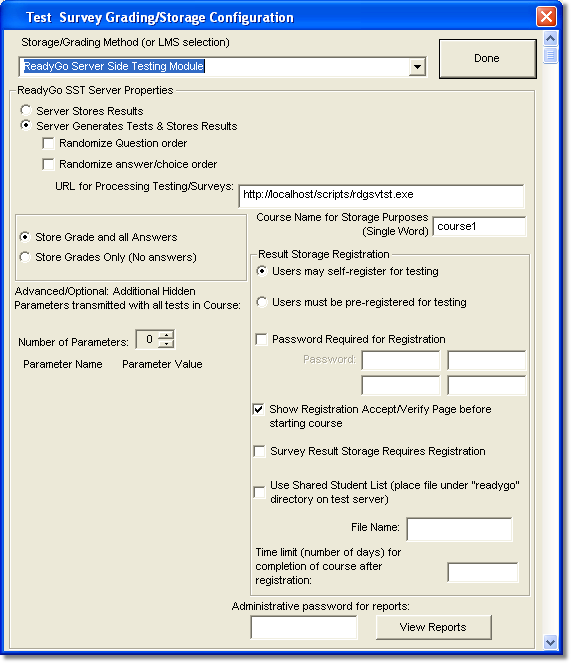 |
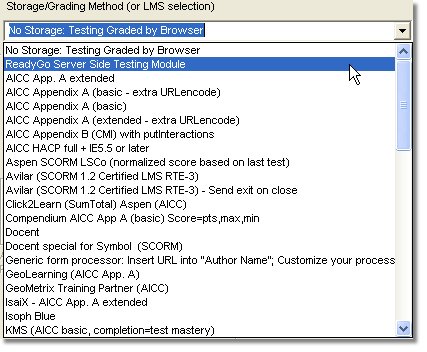
| 2 | Choose whether you want to store test results using the ReadyGo Server-Side Testing module, choose a Learning Management System, or have test results emailed.
If you choose a LMS, specify whether you want the entire course treated as an assignable unit (one grade for the entire course), or you want each chapter to have its own grade. If you know the location where the course will be posted, you can enter that information now and then click Done. If you are not going to store your test results, click No Storage: Testing Graded by Browser and then click Done. |
 |
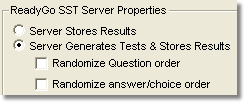
| 3 | Select whether you are going to store the test results or have the server generate tests and store the test results.
If the server generates tests, you can also choose whether to have the questions and/or answers to appear in random order each time the test is served. |
 |
| 4 | Specify the URL for where the Server-Side Testing module is located. You may need to obtain this information from your web administrator once they have installed the Server-Side Testing module. |
 This URL identifies where the Server-Side Testing module is located on your server. |
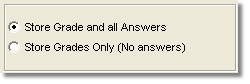
| 5 | Select whether you want to store grades and answers, or grades only. |
 |
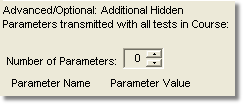
| 6 | Optionally add hidden parameters such as a test version number. |
 |
| 7 | Specify a name for the course. Do not use spaces.
This course name will be the directory name on the server where the server test files and results are stored. It is important that each course has a unique name. |
 |
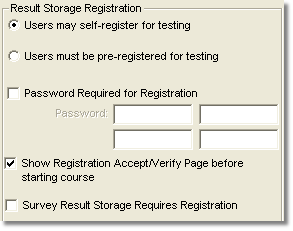
| 8 | Specify student registration options.
You can allow students to self-register, or you can require pre-registration.
If you require pre-registration, you need to set up the list of students by choosing Testing & Tracking > User Registration. The password entry is only used if you specify that students self-register. The same course password is used for all the students taking the course. You can require a password for student registration. You can specify up to four passwords. To show the student confirmation of registration beforestarting the course, select Show RegistrationAccept/Verify Page. |
 |
| 9 | To set a time limit for completion of your course, specify the number of days in the Time Limit field. |
 |
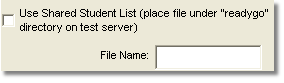
| 10 | To have this course use a master student registration list, select Use Shared Student List and enter the name of the student registration list in the File Name field.
You need to manually transfer the file to the test server or you can place the student list in the test folder of your course and transfer using Testing & Tracking > Transfer Test Files. |
 |
| 11 | You can optionally specify a password for access to the course reports.
To view the reports on the server, click View Reports. |
 |
| 12 | Click Done to save the Server-Side Testing setup. |
 |
1. Allow Self-registration, no password, store grades and answers: This is useful if you only have surveys, or you want to allow all visitors to take tests and fill out surveys.
2. Allow self-registration, add a password, require registration for surveys: This allows you to limit whose information is stored. You control this by only giving the password to authorized users. If you change the password, all users have to re-register with the new password.
3. Pre-registration required, (no password), surveys require registration: This is the most secure setup. You must create the list of students (and upload it when you upload the test files). Only the students who you have pre-registered can have results stored.
| 1 | Building a Course |
| 2 | Adding Page Elements |
| 3 | Adding Tests and Surveys |
| 4 | Changing the Appearance |
| 5 | Managing a Course |
| 6 | Using Service Bar Features |
| 7 | Tracking Test Results |


