| Step
|
Instruction
|
What it looks like
|
| 1 |
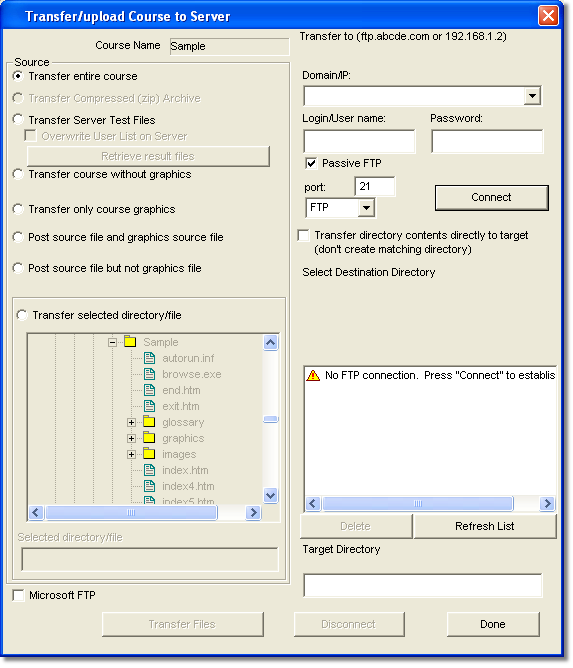
After you save and generate your course, choose Publish >Transfer from the menu bar.
|
 |
| 2 |
The name of the course you are currently working on is displayed in the Course Name field.
|
 |
| 3 |
The Source area lists the transfer options. See the Publish a Course Tell Me More for more information.
If you want to transfer a specific file, you select it in the current directory listing.
|
 |
| 4 |
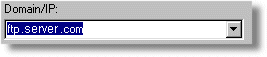
In the Domain/IP field, type the location where you want to transfer the files.
Typically, this is the URL or IP address of your web site or an internal intranet site. If you do not know the location ask your ISP, Web editor, or Web master.
|
 |
| 5 |
In the Login/User Name field, type the name for an account that has write privileges on the server.
In the Password field, type a valid password.
|
 |
| 6 |
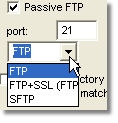
Specify the FTP settings for making a connection to your server. Contact your administrator for setting specific to your environment.
If you encounter any trouble using these FTP settings, the select the Microsoft FTP option (lower left). This option uses different FTP software provided by Microsoft.
|
 |
| 7 |
Click Connect to connect to the server.
|
 |
| 8 |
Web Course Builder will automatically create a directory using the name of your course. If you have already transferred your course and you want to overwrite it without creating a course folder, select Transfer Directory Contents Directly to Target Directory.
|
 |
| 9 |
After you successfully connect to the server, select the directory on the server where you want to transfer the files in the Select Destination Directory field.
|
| 10 |
Click Transfer Files.
|
| 11 |
Click Done once the files are transferred. This closes the connection with the server.
|
 Back
Back


