 Back
Back| 4.6.1 4.6a Creating a master template |
| Step | Instruction | What it looks like |
|---|---|---|
| 1 | Create a course and set up the appearance by specifying colors and graphics, labels and text, fonts, style sheets and so on so that it looks the way you want and generate your course. | |
| 2 | Choose Appearance > Create Template. |
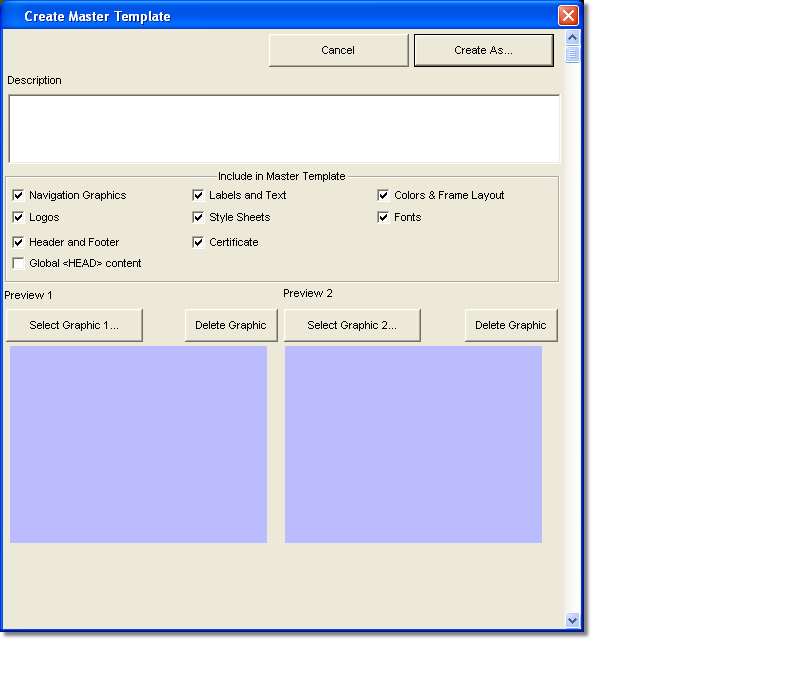 |
| 3 | In the Description field, enter a description of the course look. |
 |
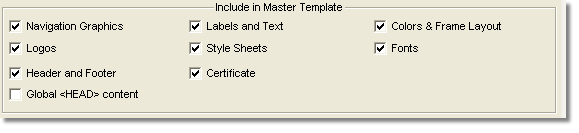
| 4 | Select the appearance elements that you want to include in your master template. |
 |
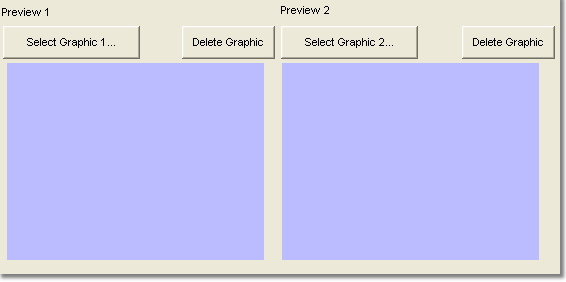
| 5 | To add preview snapshots of your course to save with your template, click Select Graphic and find the graphic on your computer.
You can add a graphic by dragging a graphic from your computer and dropping it into the blue area, or you can take a screen capture of your course and right-click in the blue area and choose Paste. The image will be converted to web format automatically. The image can be automatically resized to fit the area. Click Create to save the image and add it to the template description. |
 |
| 6 | Click Create As to create your master template and choose where you want to save your master template. | |
| 1 | Building a Course |
| 2 | Adding Page Elements |
| 3 | Adding Tests and Surveys |
| 4 | Changing the Appearance |
| 5 | Managing a Course |
| 6 | Using Service Bar Features |
| 7 | Tracking Test Results |


