| Step
|
Instruction
|
What it looks like
|
| 1 |
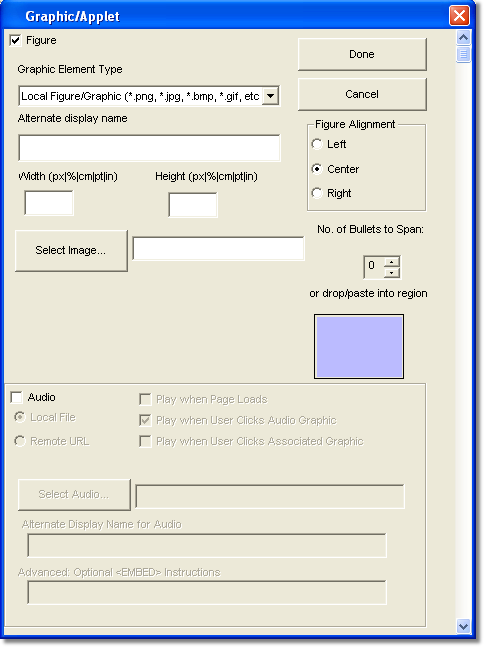
Click the Graphic/Audio button.
|
 |
| 2 |
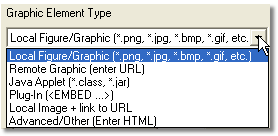
In the Graphic Element Type field, specify the type of media you want to integrate into the course.
|
 |
| 3 |
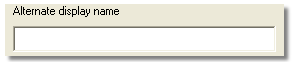
In the Alternate display name field, specify text that is displayed when the student moves the mouse over the graphic in the course.
|
 |
| 4 |
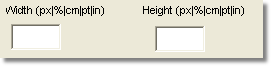
Specify the size of your graphic.
Leave the Width and Height fields blank to allow the browser to display the graphic in its default size.
Specify the size in pixels, as a percentage, in centimeters in points, or in inches.
|
 |
| 5 |
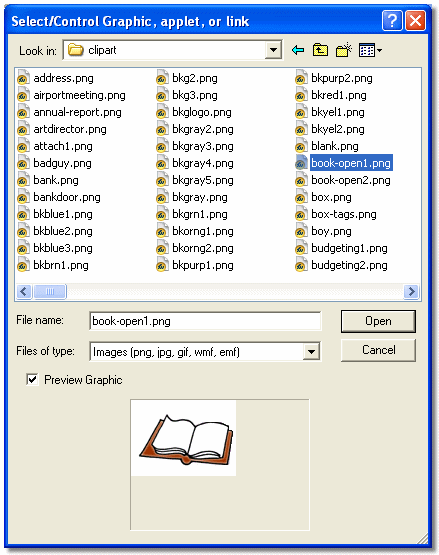
To specify the image you want to include, click Select Image to find the graphic on your computer. Select the graphic you want to use and click Open.
To see a preview of the graphic you selected, select Preview Graphic.
Alternatively, you can drag a file or image into the Drop/Paste Region.
|
 |
| 6 |
If you are adding a Microsoft clip art graphic file (WMF or EMF), the image will be converted to a web format automatically. The image conversion dialog box opens. You can choose JPG or PNG, change the image size, and specify a description for the image, then click Create.
|
 |
| 7 |
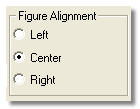
Specify how you want the graphic placed on the page.
|
 |
| 8 |
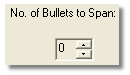
If you are specifying a graphic on a bullet page,
you can specify the number of bullets to span.
This works if your graphic is right or left aligned.
Click the
No. of Bullets to Span up arrow to specify
how many bullets the graphic should be placed to
the right or left of the graphic.
|
 |
| 9 |
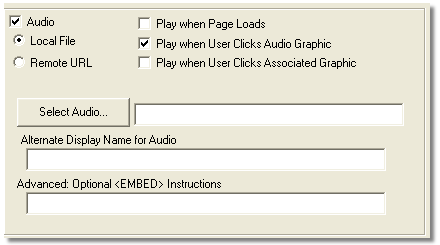
To add an audio file to the page, select the Audio check box.
|
 |
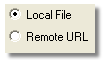
| 10 |
Select whether the audio file is a local file or is located remotely where you will provide a URL for the file.
|
 |
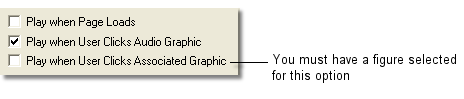
| 11 |
Choose how you want the audio file to play on the page.
You can choose to have the sound file play both when the page is loaded and when the user clicks a graphic or choose one option only.
|
 |
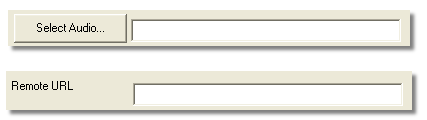
| 12 |
If you selected to insert a local audio file, click Select Audio to find the file on your computer. Select the file you want to use and click Open.
If you selected to insert a remote audio file, enter the Remote URL.
|
 |
| 13 |
If you selected Play when User Clicks Audio Graphic, you can specify text that is displayed when the student moves the mouse over the audio graphic in the Alternate Display Name field.
|
 |
| 14 |
Add any additional options that may be required for the plug-in in the Advanced Optional Instructions field.
|
 |
| 15 |
Click Done to save your changes.
|
 |
 Back
Back


