| Step
|
Instruction
|
What it looks like
|
| 1 |
Choose Testing & Tracking > User Registration.
|
 |
| 2 |
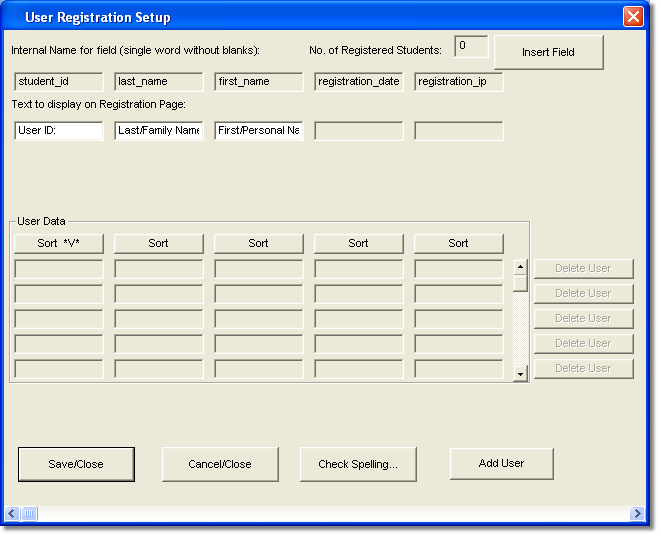
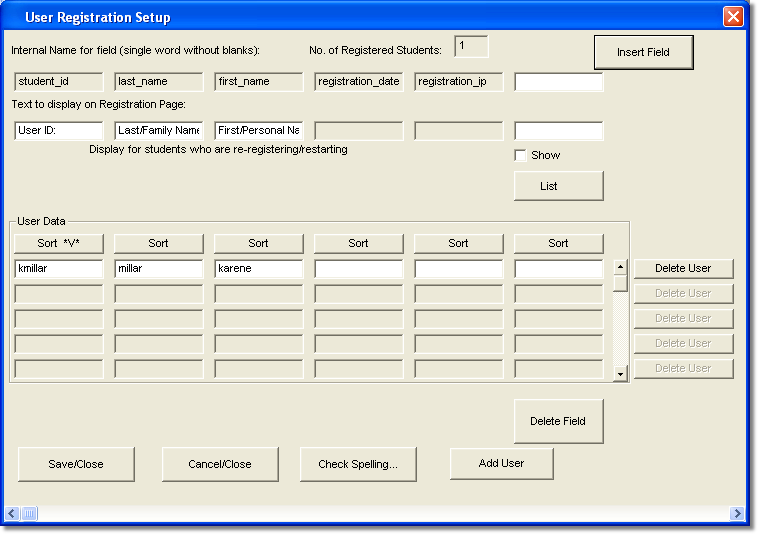
Click Insert Field to add a new custom field to the course registration page. You can have up to 20 fields for a course. These fields are primarily useful for self-registration.
|
 |
| 3 |
Specify a internal field name for each field you want saved on your server. This name must not include any spaces and must consist of valid characters (A-Z, a-z). For example, some valid names include: ssn, boss_name, and phone. The following field names are invalid: home phone number, home&office address.
|
 These words are saved on your computer. |
| 4 |
Type the field name the student will see on the registration page.
For example, you could request the student's department name, their boss' name, and their employee number. You can uses spaces in these field names.
|
 These words are displayed on the registration page. |
| 5 |
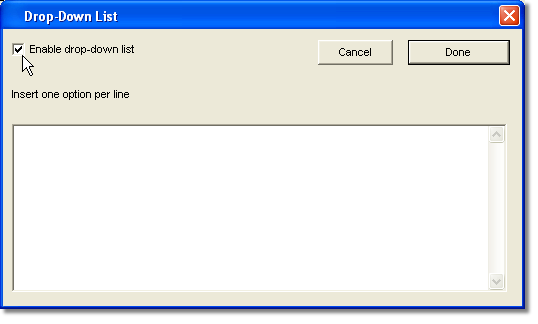
If you want your field to include a dropdown list of items, click List below the new field.
-
Select Enable drop-down list.
- Enter each option on a separate line.
- Click Done when you finish adding options for your drop-down list.
|
 |
| 6 |
The number of students you have in your pre-registered student list (User Data area) is shown here.
|
 |
| 7 |
You can sort the pre-registered student list by each field (column).
|
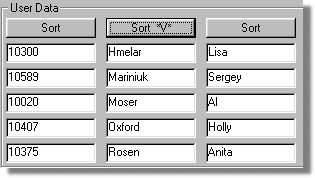 *V* shows the field by which the student list is currently sorted. |
| 8 |
Enter the pre-registration student information.
|
See the image in the box above. |
| 9 |
For students that are re-registering for a course, you can choose what optional fields to display for these students. For example, if employee department name is an optional field, it might be useful to display this value to students so they can correctly re-register.
|
 |
| 10 |
Click Add User for each student you want to add to the pre-registered student list. You can pre-register any number of students for each course.
|
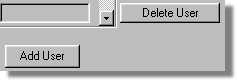 Use the Add User button to add pre-registered student. Use the Delete User button to remove a student from the list. |
| 11 |
Click Save/Close to save your changes.
|
 |
 Back
Back


