 Back
Back| 5.14.1 5.14a Creating a custom graphics set |
| Step | Instruction | What it looks like |
|---|---|---|
| 1 | Choose Appearance > Colors and Graphics from the menu bar. |
 |
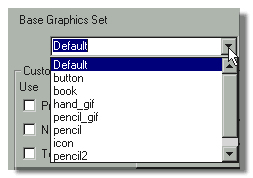
| 2 | Select a Base Graphics Set if you want. |
 |
| 3 | Individually select custom graphics you want to use in your graphics set. | |
| 4 | Click Create in the Graphics Set Creation area. |
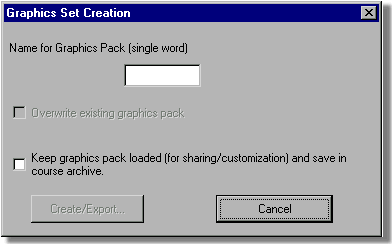 |
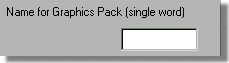
| 5 | Enter a name for your graphics set in the Name for Graphics Pack field.
Do not enter any spaces in the name. |
 |
| 6 | If you want to share this graphics set with another course developer, keep the set loaded. |
 |
| 7 | Click Create/Export. A folder with the graphics set name you specified is created on your computer that contains the selected custom graphics.
The new graphics set with the name you specified is now available in the Base Graphics Set list. |
 |
| 1 | Building a Course |
| 2 | Adding Page Elements |
| 3 | Adding Tests and Surveys |
| 4 | Changing the Appearance |
| 5 | Managing a Course |
| 6 | Using Service Bar Features |
| 7 | Tracking Test Results |


