 Back
Back| 4.2.1 4.2a How to Customize Course Fonts |
| Step | Instruction | What it looks like |
|---|---|---|
| 1 | Choose Appearance > Fonts from the menu bar. |
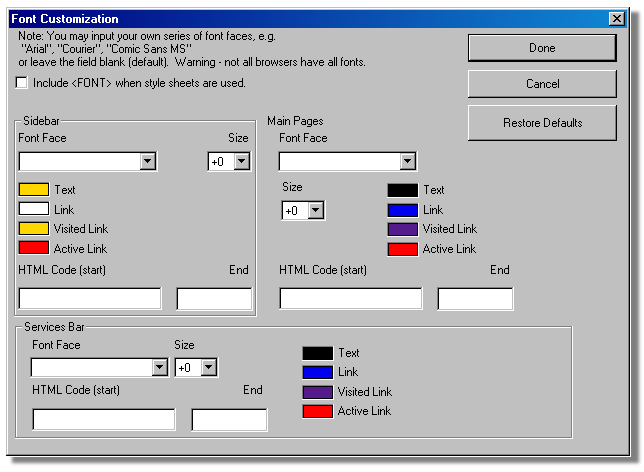 |
| 2 | If you are using style sheets, the font settings are included in the style sheet instead of the generated HTML. To include font settings (FONT tag) in the generated HTML as well as in the style sheets, select Include when style sheets are used. |
 |
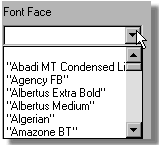
| 3 | To select a font face, click the Font Face arrow in the area you want (sidebar, services bar, or main pages) and choose a font.
NOTE: The fonts you see on your computer may be different than those shown in this figure. Web Course Builder shows the fonts installed on your computer. IMPORTANT: The font you choose will only be seen by a student if the font also exists on the student's computer. If the font does not exist on the student's computer, the default system font is used which is typically Times or Times New Roman. |
 |
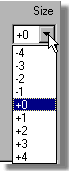
| 4 | To specify a font size, click the Size arrow and choose a relative size from the list. The size you choose is relative to the student's browser default font size. The size of +0 is the browser's default font size. |
 |
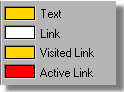
| 5 | To specify a font color, click the colored region and select the color you want from the Color dialog box.
The colors you can set are:
|
 |
| 1 | Building a Course |
| 2 | Adding Page Elements |
| 3 | Adding Tests and Surveys |
| 4 | Changing the Appearance |
| 5 | Managing a Course |
| 6 | Using Service Bar Features |
| 7 | Tracking Test Results |


