| Step
|
Instruction
|
What it looks like
|
| 1 |
Start Web Course Builder and open an existing course or create a new course or choose Edit > Course Properties.
|
 |
| 2 |
In the File Name field, type a single word name to use as the file name for the course.
|
 |
| 3 |
In the Company Name field, type your company name that will be displayed with the copyright information on the introduction page.
|
 |
| 4 |
In the Course Title field, type the title that is displayed in the sidebar and on the introduction page.
|
 |
| 5 |
In the Course Summary field, type summary that is displayed on the introduction page.
|
 |
| 6 |
You can change the look of your course by changing the course colors and graphics. Click
Customize Colors and Graphics to make these changes.
|
 |
| 7 |
You can choose a logo to display on the introduction page and at the top of the sidebar.
If you add a graphic for the sidebar, WCB automatically creates a link on this graphic to the first page of the course. You can specify an image with a link to a URL of your choice.
|
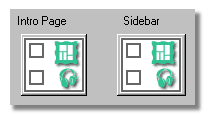 Click the appropriate graphic button to select a logo on your computer. |
| 8 |
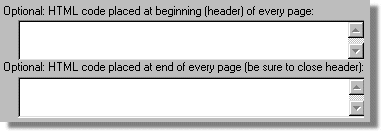
To create a custom header or footer for your course, type the information in the Optional HTML Code field. The information or graphics you place in these boxes is displayed on the top and/or bottom of each page.
For example, with Internet Explorer 6, you may see some of your text
flowing off the end of the page by
just a few letters. To correct this, place the following HTML code in
the header field:
<TABLE WIDTH=90%><TR><TD>
Then place the following in the
code placed at the end field:
</TD></TR></TABLE>
|
 |
| 9 |
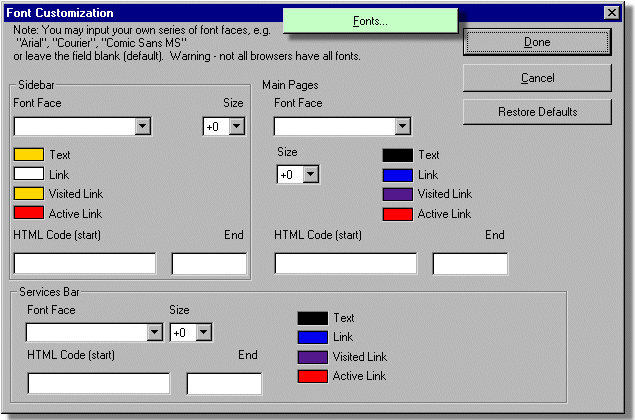
To change the fonts for your course, click Fonts.
There will be more information on this feature in the next section.
|
 |
| 10 |
To change the standard words used in the course, click Labels and Text.
|
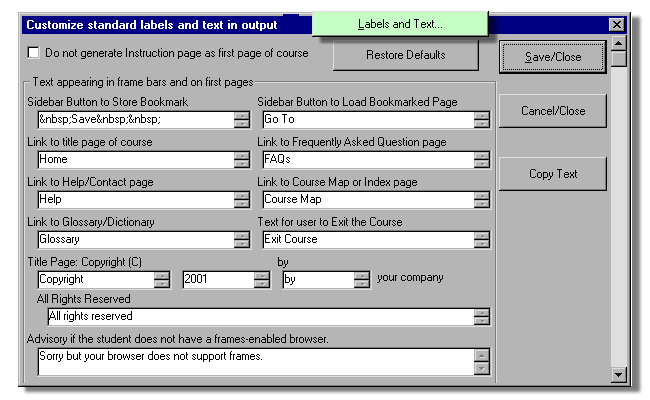 This dialog box lists all the standard words in a course. |
| 11 |
To change the frame layout for the course, click Frame Layout.
|
 |
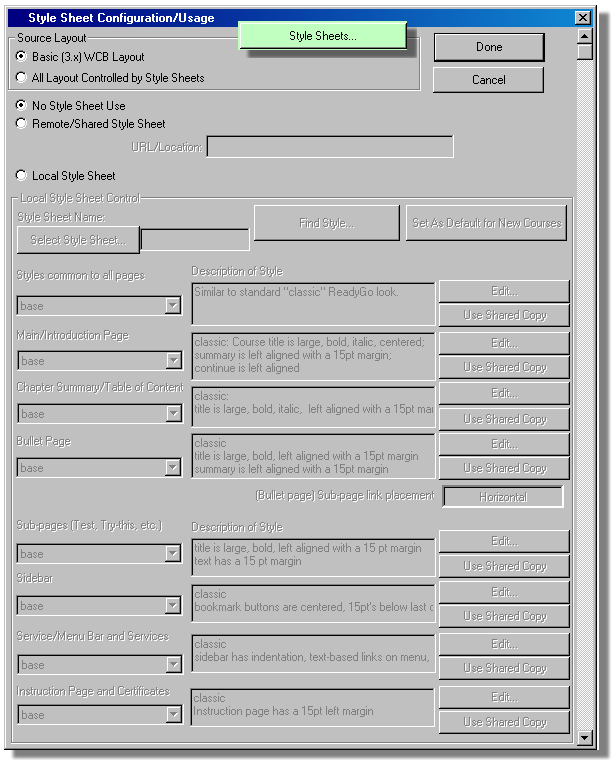
| 12 |
You can create and edit style sheets for your course.
Click Style Sheets to edit style sheets.
|
 |
| 13 |
To add HTML code in the HEAD tag of each page in your course, enter the HTML code in the Advanced field.
|
 |
| 14 |
When you are finished, click Done.
|
 |
 Back
Back


